MOBILE LENSES
Mobile Holders
Everyday Essentials
How to begin working on the art of post-production in photography?
4 min read
Post-production in photography is an art that goes beyond mere adjustments. It's a creative process where photographers can employ various hacks and transformative techniques to elevate their images. In this comprehensive guide, we'll delve into ingenious hacks, the magic of Lightroom presets, and examples showcasing the impactful changes that post-production factors can bring to your photographs.
Understanding Post-Production
Post-production, also known as photo editing, is the transformative process of refining and enhancing images after they've been captured. The following steps offer a foundational understanding for beginners venturing into the realm of post-production:
-
Selecting the Right Editing Software: Choose an editing software that aligns with your skill level. Popular choices include Adobe Lightroom and Photoshop, offering a range of tools for basic and advanced editing.

-
Fundamental Editing Tools: Familiarize yourself with basic tools like exposure, contrast, saturation, and sharpness adjustments. These tools lay the groundwork for refining the essential elements of your photo.
-
Color Correction Mastery: Dive into color correction to ensure accurate and vibrant hues. Adjust white balance to neutralize color casts and experiment with color grading to add a creative touch.

-
Retouching and Healing Techniques: Learn retouching techniques to eliminate imperfections and distractions. Healing tools can help achieve a polished and professional look for your images.

-
Introduction to Filters and Presets: Experiment with filters and presets to streamline your editing process. These pre-configured settings provide a consistent style, and you can customize them as you develop your unique editing signature.
Hacks for Post-Production Magic
-
Selective Coloring: Turn a photo into a monochrome masterpiece with selective coloring. This technique involves maintaining specific elements in color while desaturating the rest, creating a powerful visual impact. For instance, you can emphasize a red flower in a black-and-white landscape, making it the focal point.
-
Dramatic Shadows and Highlights: Play with shadows and highlights to add drama to your images. Enhance contrast by deepening shadows and brightening highlights, creating a dynamic and captivating look. This technique works exceptionally well in portrait photography, emphasizing facial features with well-manipulated shadows and highlights.

-
Double Exposure Magic: Experiment with the double exposure effect to merge two images seamlessly. This technique adds a surreal and artistic touch to your photographs, blending two worlds in a single frame. For instance, merging a portrait with a nature shot can create a harmonious composition.
-
Texture Overlay: Introduce texture overlays for a vintage or grunge aesthetic. From subtle film grain to bold textures, overlays can transform the mood and feel of your photos. Applying a film grain overlay to a portrait can evoke a classic and timeless atmosphere.

-
Creative Cropping: Don't underestimate the power of creative cropping. Adjust the composition by cropping strategically to draw attention to specific elements and enhance visual storytelling. For example, cropping an urban landscape to focus on a unique architectural detail can tell a more compelling story.

Lightroom Presets: Before and After
Lightroom presets are pre-configured settings that simplify the editing process and provide a consistent style. Here are detailed examples of how Lightroom presets can transform images:
Cinematic Vibes:
-
Vintage Charm:
Before: A modern, clean image.
After: Vintage preset applied, introducing a warm color temperature, faded blacks, and film-inspired grain for a nostalgic look. This preset brings a timeless charm to the image, giving it a vintage and aged appearance.
-
Moody Landscape:
Before: A bright and vibrant landscape.
After: Moody landscape preset applied, reducing saturation, enhancing shadows, and introducing a cool color grade for a dramatic effect. This preset transforms the image into a moody and atmospheric landscape, emphasizing shadows and creating a compelling mood.
Post-Production Factors That Make a Difference
-
White Balance Adjustment:
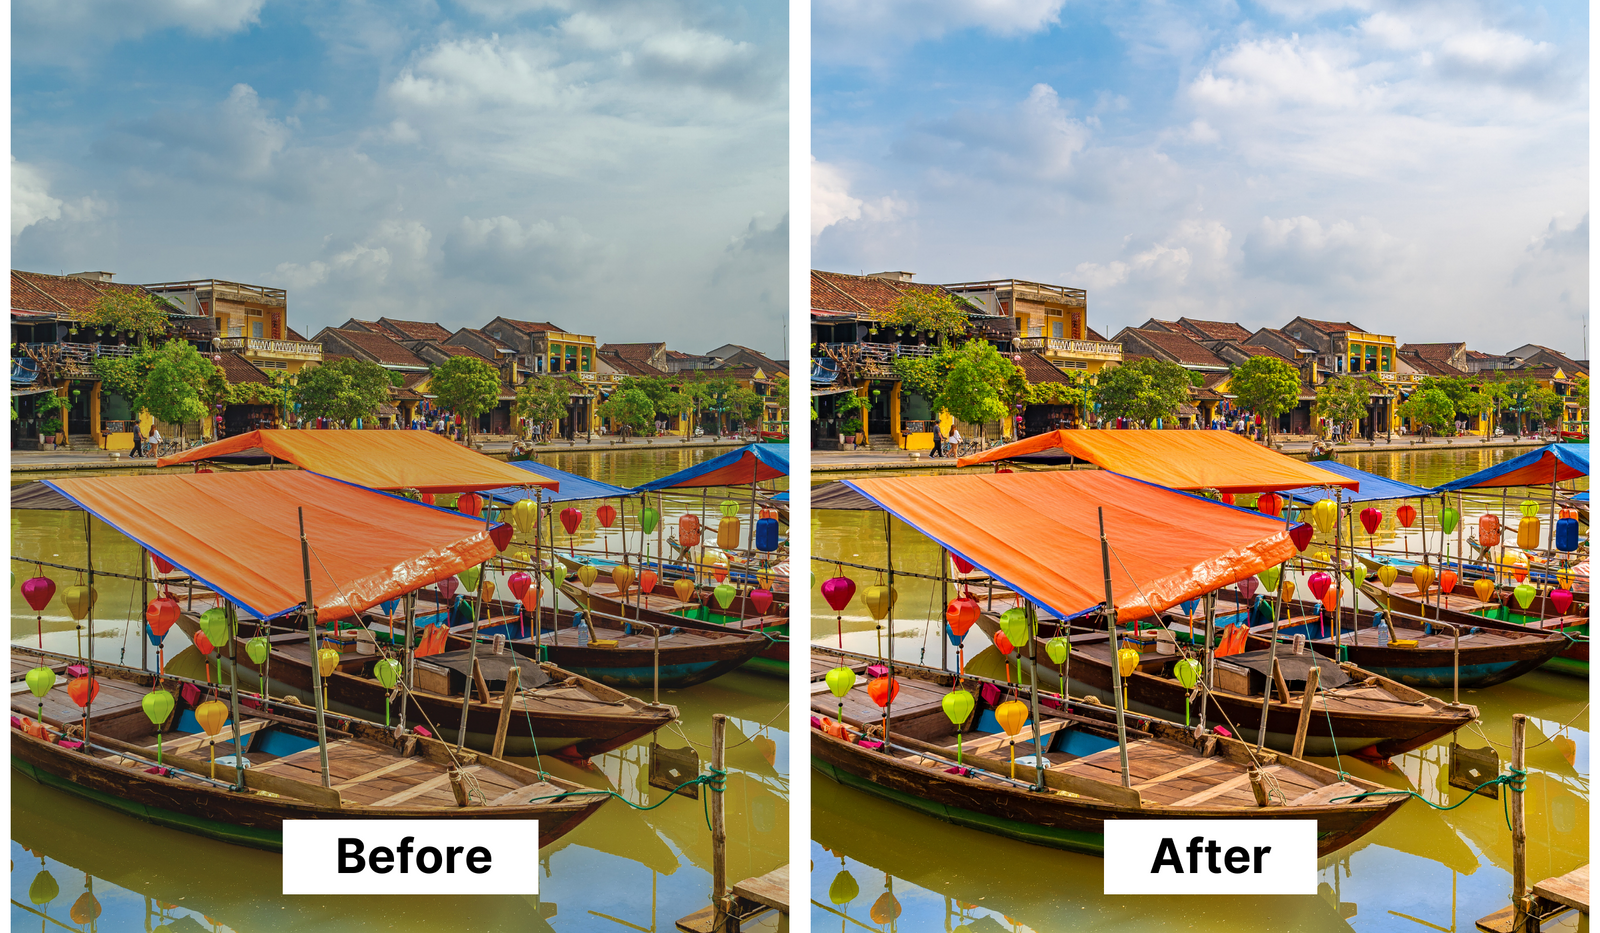
Before: A photo with a slightly warm color cast.
After: White balance adjusted to neutralize color tones and achieve a natural look. This adjustment ensures that the colors in the image appear true to life, correcting any unwanted color casts.
-
Saturation Boost:
Before: A portrait with subdued colors.
After: Saturation boosted to add vibrancy and make colors pop without compromising realism. This adjustment enhances the overall color intensity, making the image more visually striking.
In the realm of post-production techniques, Skyvik's anamorphic lens introduces a touch of cinematic magic. The lens captures footage with a distinctive widescreen, lens-flare aesthetic, reminiscent of professional cinematography. Integrating this lens into your photography toolkit adds an extra layer of creative possibility during post-production, allowing you to enhance the visual storytelling aspect of your photographs with a unique and cinematic flair.
Conclusion
Post-production is a dynamic playground where photographers can unleash their creativity and breathe life into their captures. From ingenious hacks that defy conventions to the efficiency of Lightroom presets, the possibilities are endless. Remember that each photograph tells a unique story, and post-production is the tool that helps you articulate it with precision and flair. Experiment, explore, and let your creativity shine through every edited image. Mastering the art of post-production opens up a realm of creative possibilities, allowing you to transform your photographs into captivating visual stories.


